In today’s digital landscape, safeguarding user accounts is more critical than ever. Two-factor authentication (2FA) adds an extra layer of security to protect accounts beyond just using a password. This guide walks you through the step-by-step process of enabling email 2FA in your Power Pages portal.
To enable 2FA for a contact, set the value of the Two Factor Enabled field to true.

To send the two-factor code via email you have to enable the action named Send Email Two Factor Code To Contact and ensure the From field is properly configured in the send email step to guarantee successful delivery of the email.
When users try to login into the portal they will be prompted to enter the security code as shown in the below screenshot.

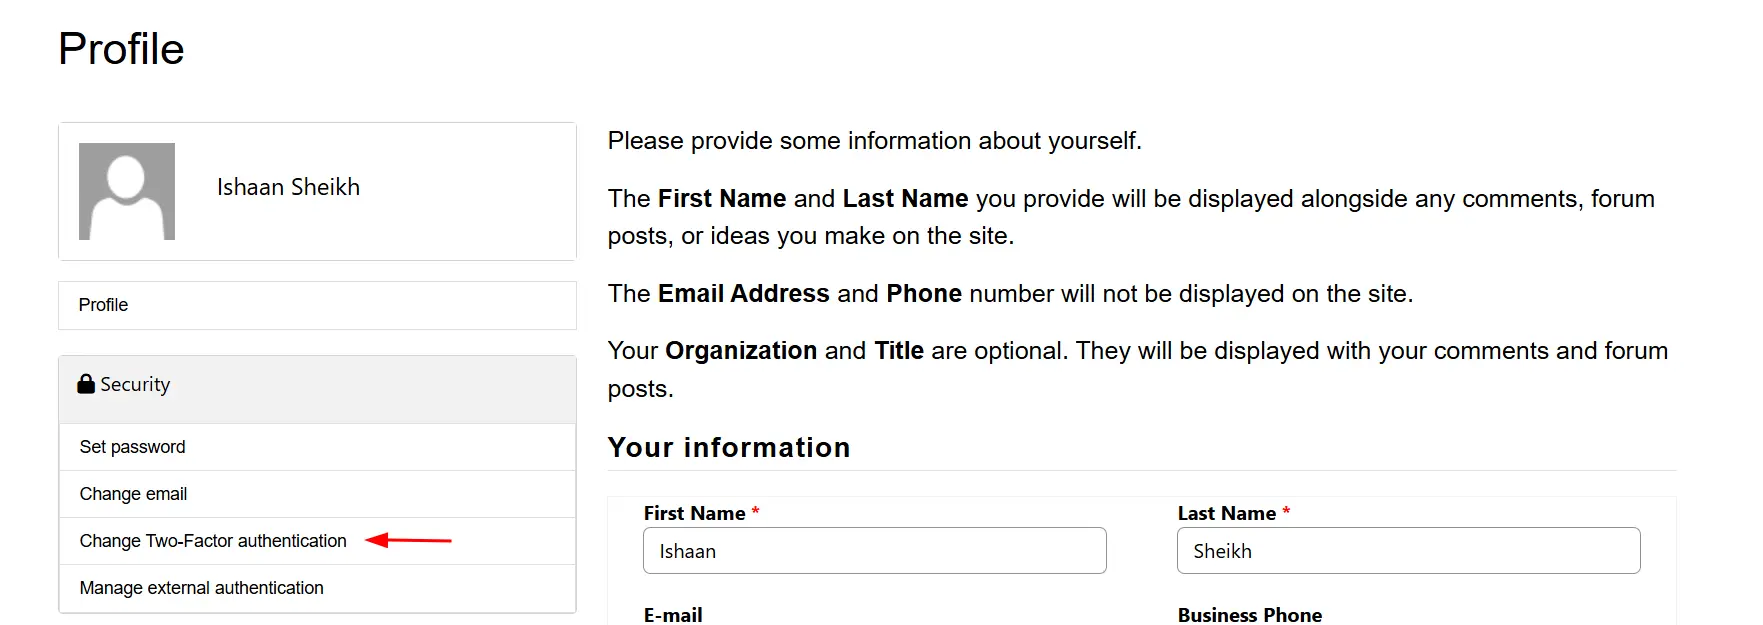
Sometimes you want to allow users to optionally enable or disable the two-factor authentication. To do so create a site setting named Authentication/Registration/TwoFactorEnabled and set the value to true. Now, users can change the two-factor setting from the profile page in the portal.

To enable email-based 2FA in Power Pages, users will need a verified email address. Check out this blog on how to enable email confirmation in the Power Pages portal. Users will see a message to confirm their email address before enabling 2FA for their account.

By enabling email-based 2FA in your Power Pages portal, you significantly enhance account security while maintaining a user-friendly experience. To learn more about power pages authentication options check out the Microsoft documentation.
