Push notifications are a powerful way to engage users and deliver real-time updates directly to their devices. In this post, we’ll walk through how to send push notifications to the Power Apps mobile app using Power Automate.
You can use push notifications to quickly let users know about any new updates, tasks, or important events right on their phones through the Power Apps mobile app.
To send push notifications, we can use the built-in action in Power Automate.
Search for the action named Send push notification V2.

In the action fields, enter the following information –
- Mobile app – Power Apps
- Your app – Choose your Model-driven app
- Recipients Item – Enter the email(s) of the user(s) who should receive the notification
- Message – Add the message content you want to show in the notification
- Open app – Select Yes if you want the notification to open a form or view
- Entity – Choose the related entity
- Form or view – Pick the form or view to navigate to on tap
- Record ID – (Optional) Enter the record’s GUID to open a specific item directly

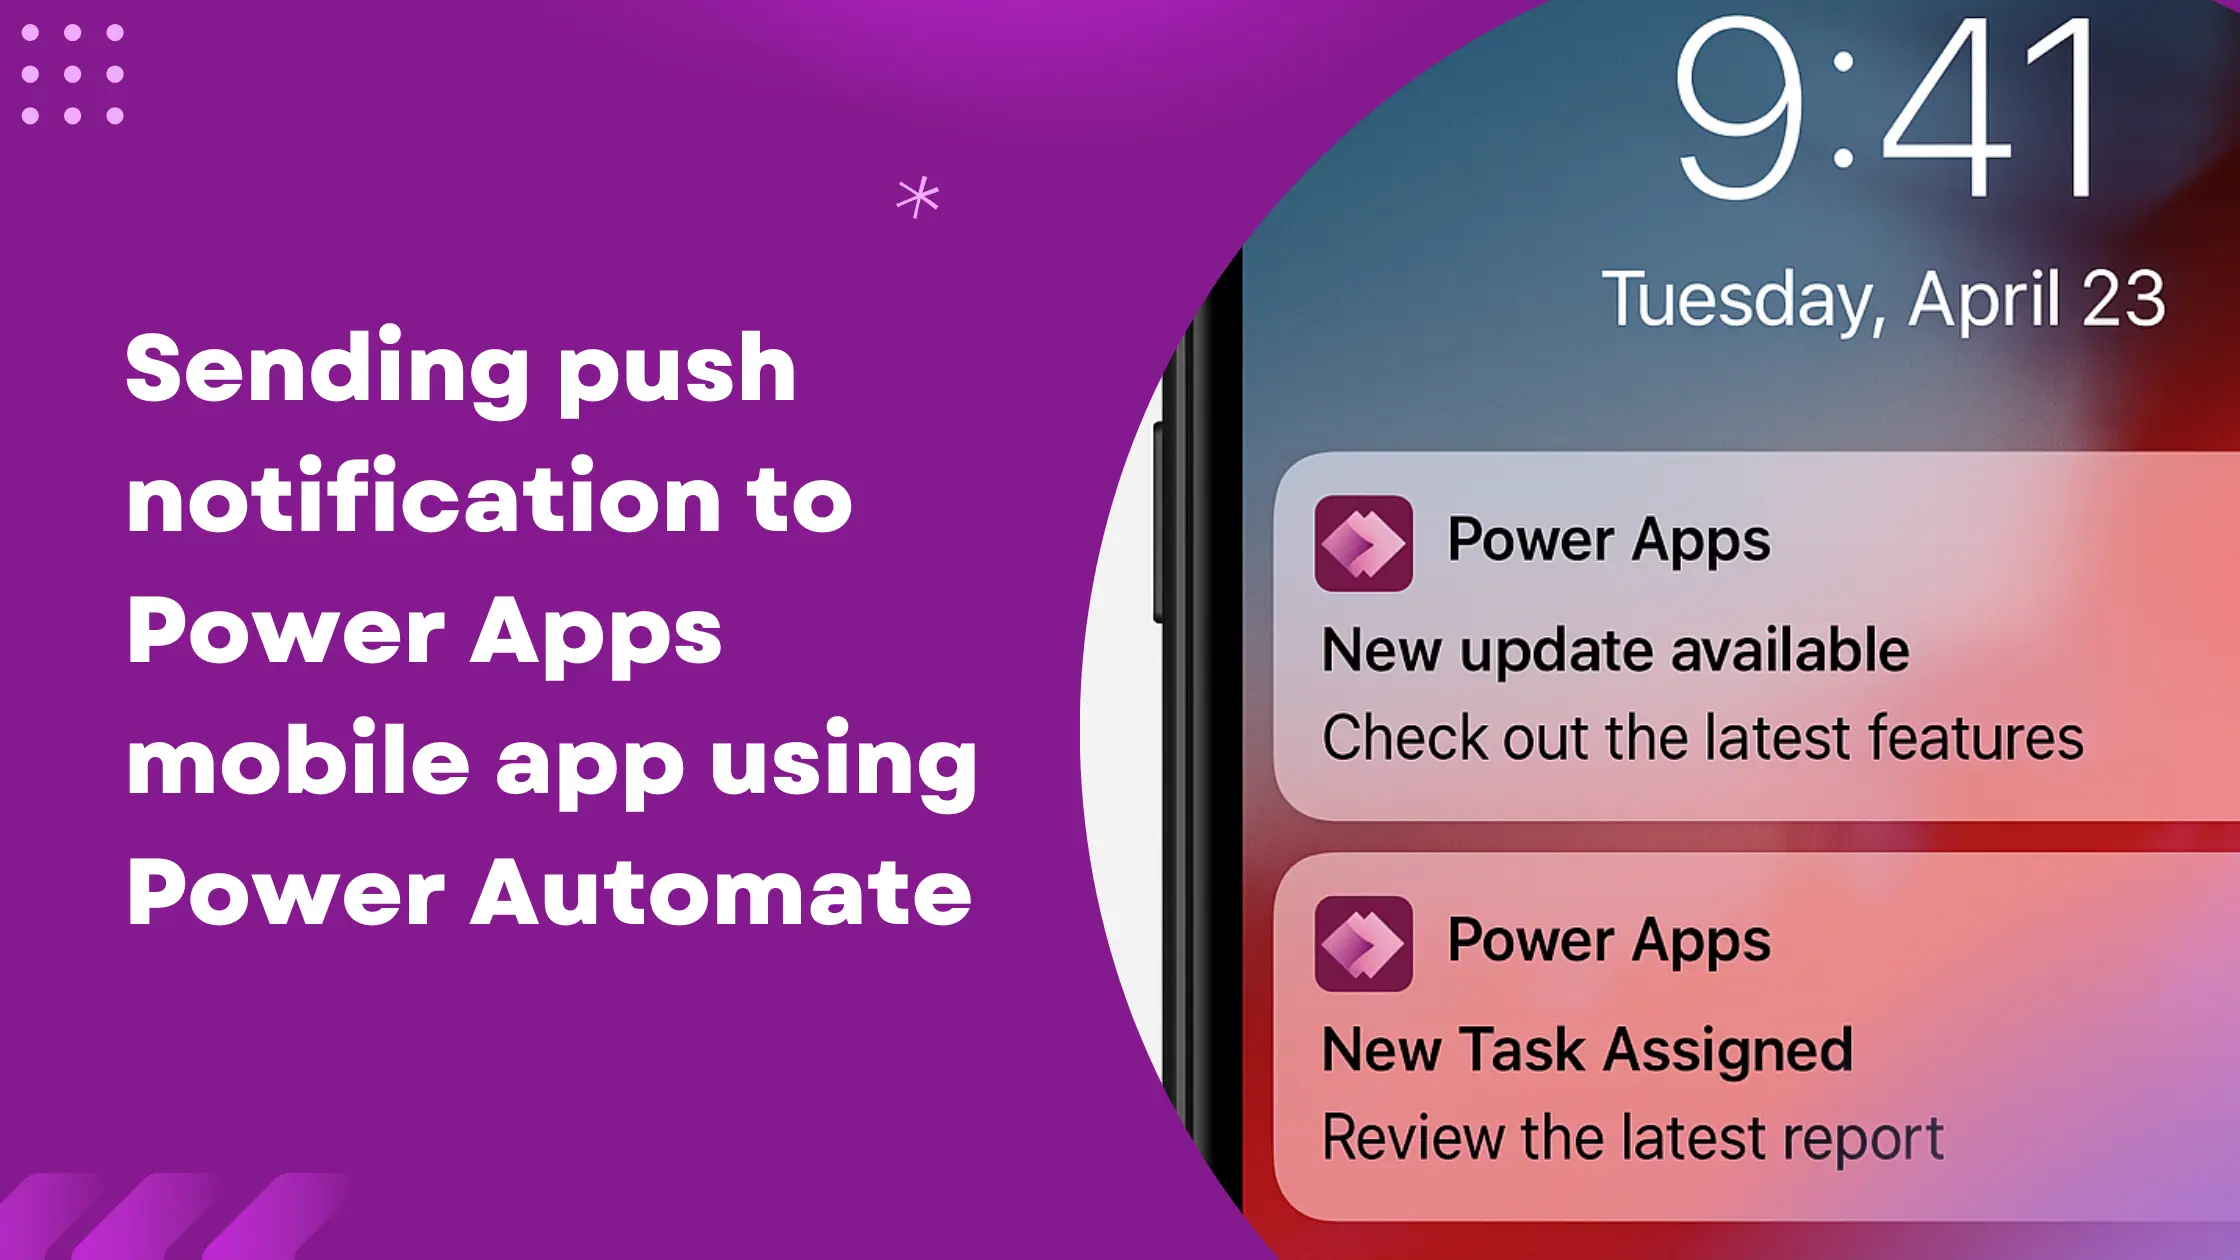
If configured correctly, the user will receive the notification in their Power Apps mobile app as seen below.

Note
The user must be logged in with the same email as the recipient of the notification.
If you haven’t already, you can download the Power Apps mobile app from the Play Store or App Store.
For more details, refer to the official Microsoft documentation on Power Apps push notifications.